In Excel, changing Font Color is easy. You can change font color for a single cell or an entire sheet. To do this, you must need to open the Excel application. By default, the font color is set to be black in Excel application.

Method 1: Using the Change Font Color Dropdown
- Choose the cell that you want to change the Font Color.
- Next go to the Home Tab and from the Font Group, then go to the Font Color dropdown icon denoted by a Alphabet A with a black color bar underneath.
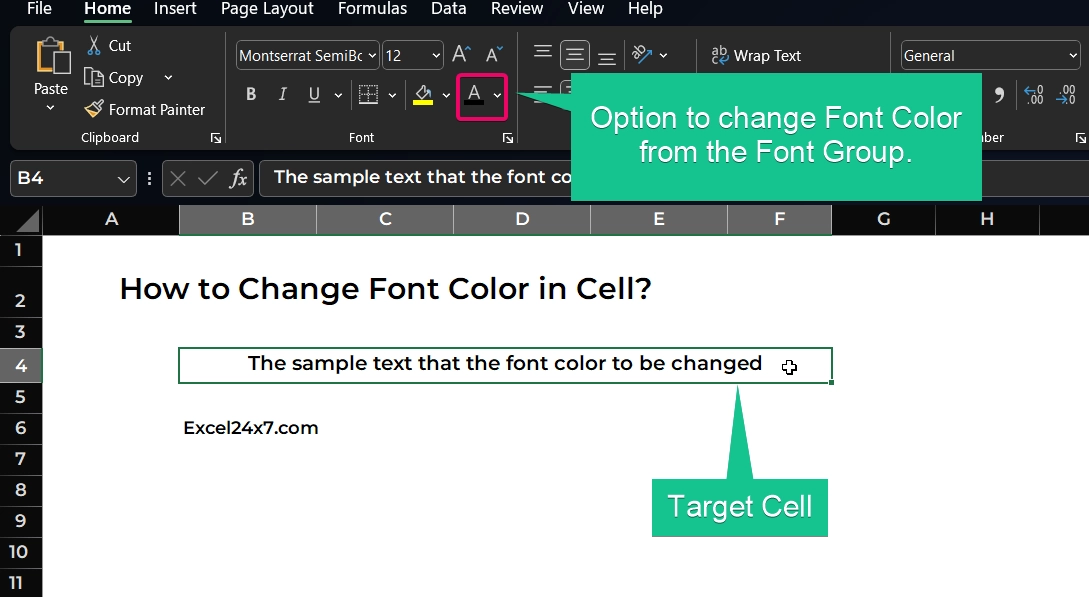
- Now, you need to click the dropdown arrow and choose your font color that needs to be applied to the characters of the selected cell.
- For example, I choose “Orange” as the Font color to be applied.
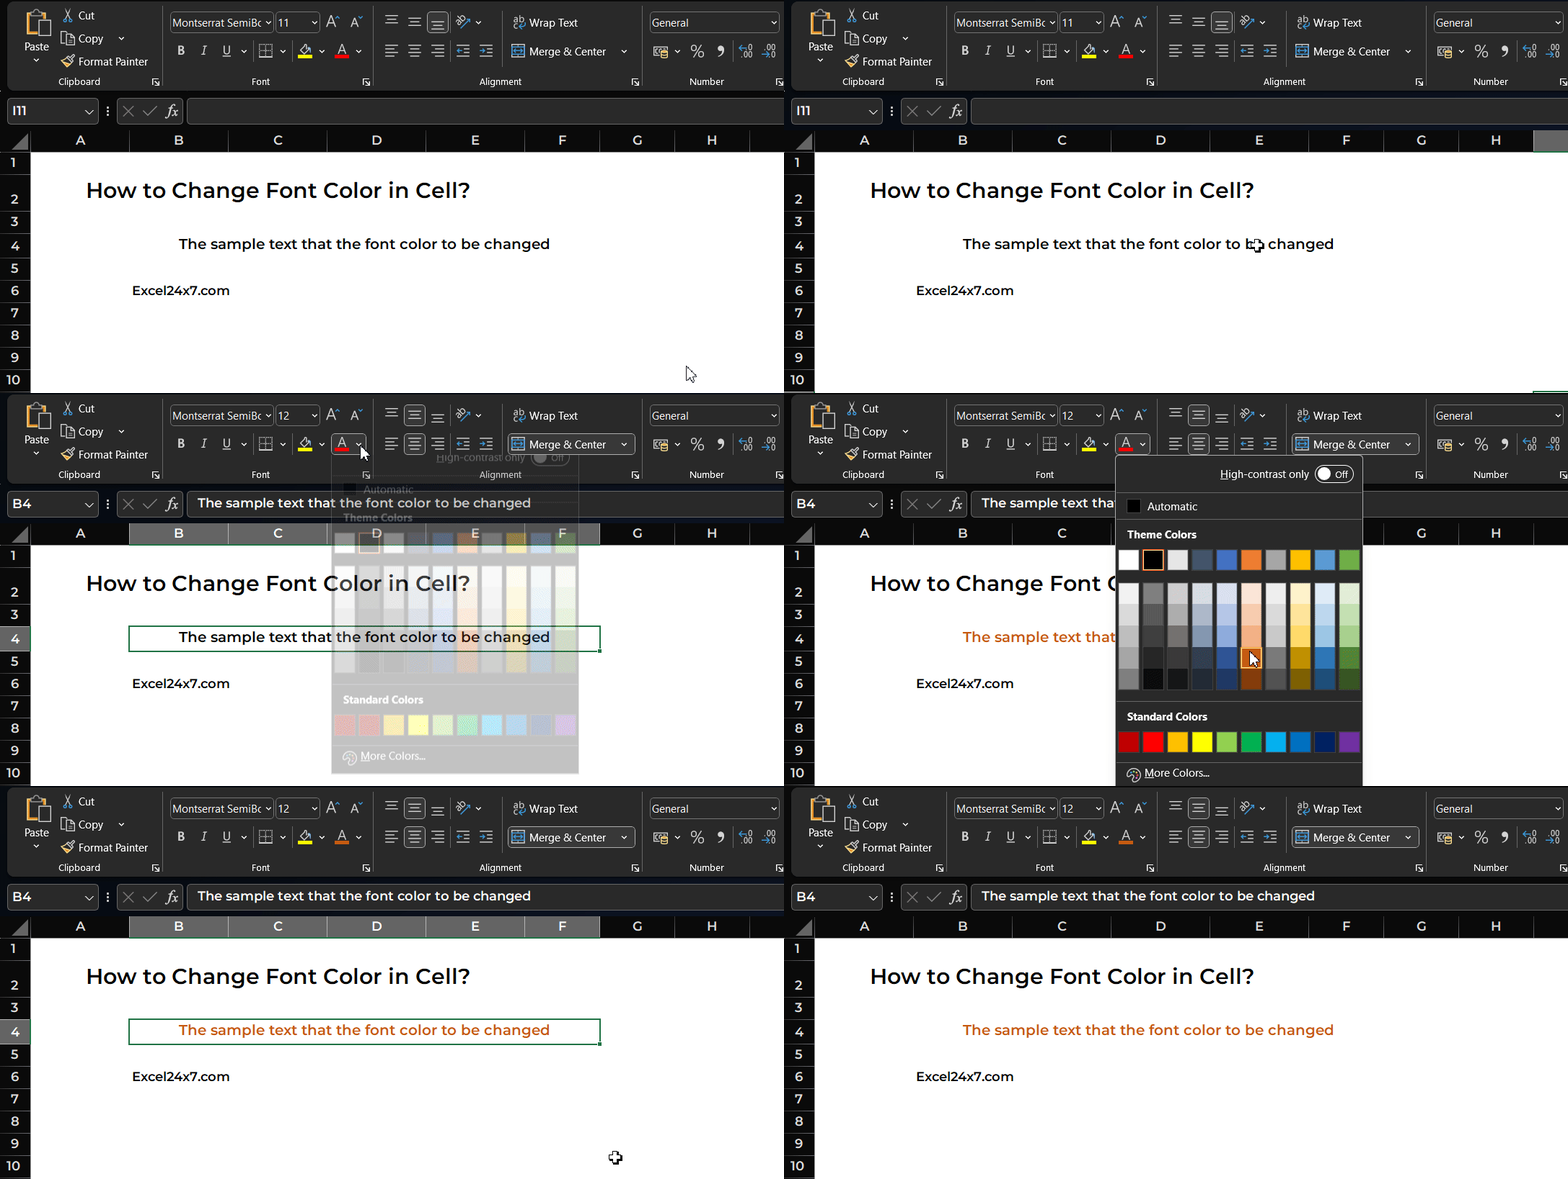
From the above image, you can see that the new font color “Orange” has been applied to the selected cell.
Method 2: Using the keyboard shortcut (CTRL +1):
- Choose the cell that you want to change the Font Color.
- Then, you need to press the keyboard keys CTRL + 1 from the keyboard or right click and choose the Format cells option.
- After that, the format cells window will appear on the screen.
- Go to the Font tab and click on the Colour dropdown.
- Select the color of the choice that you wish to change for the targeted cells.
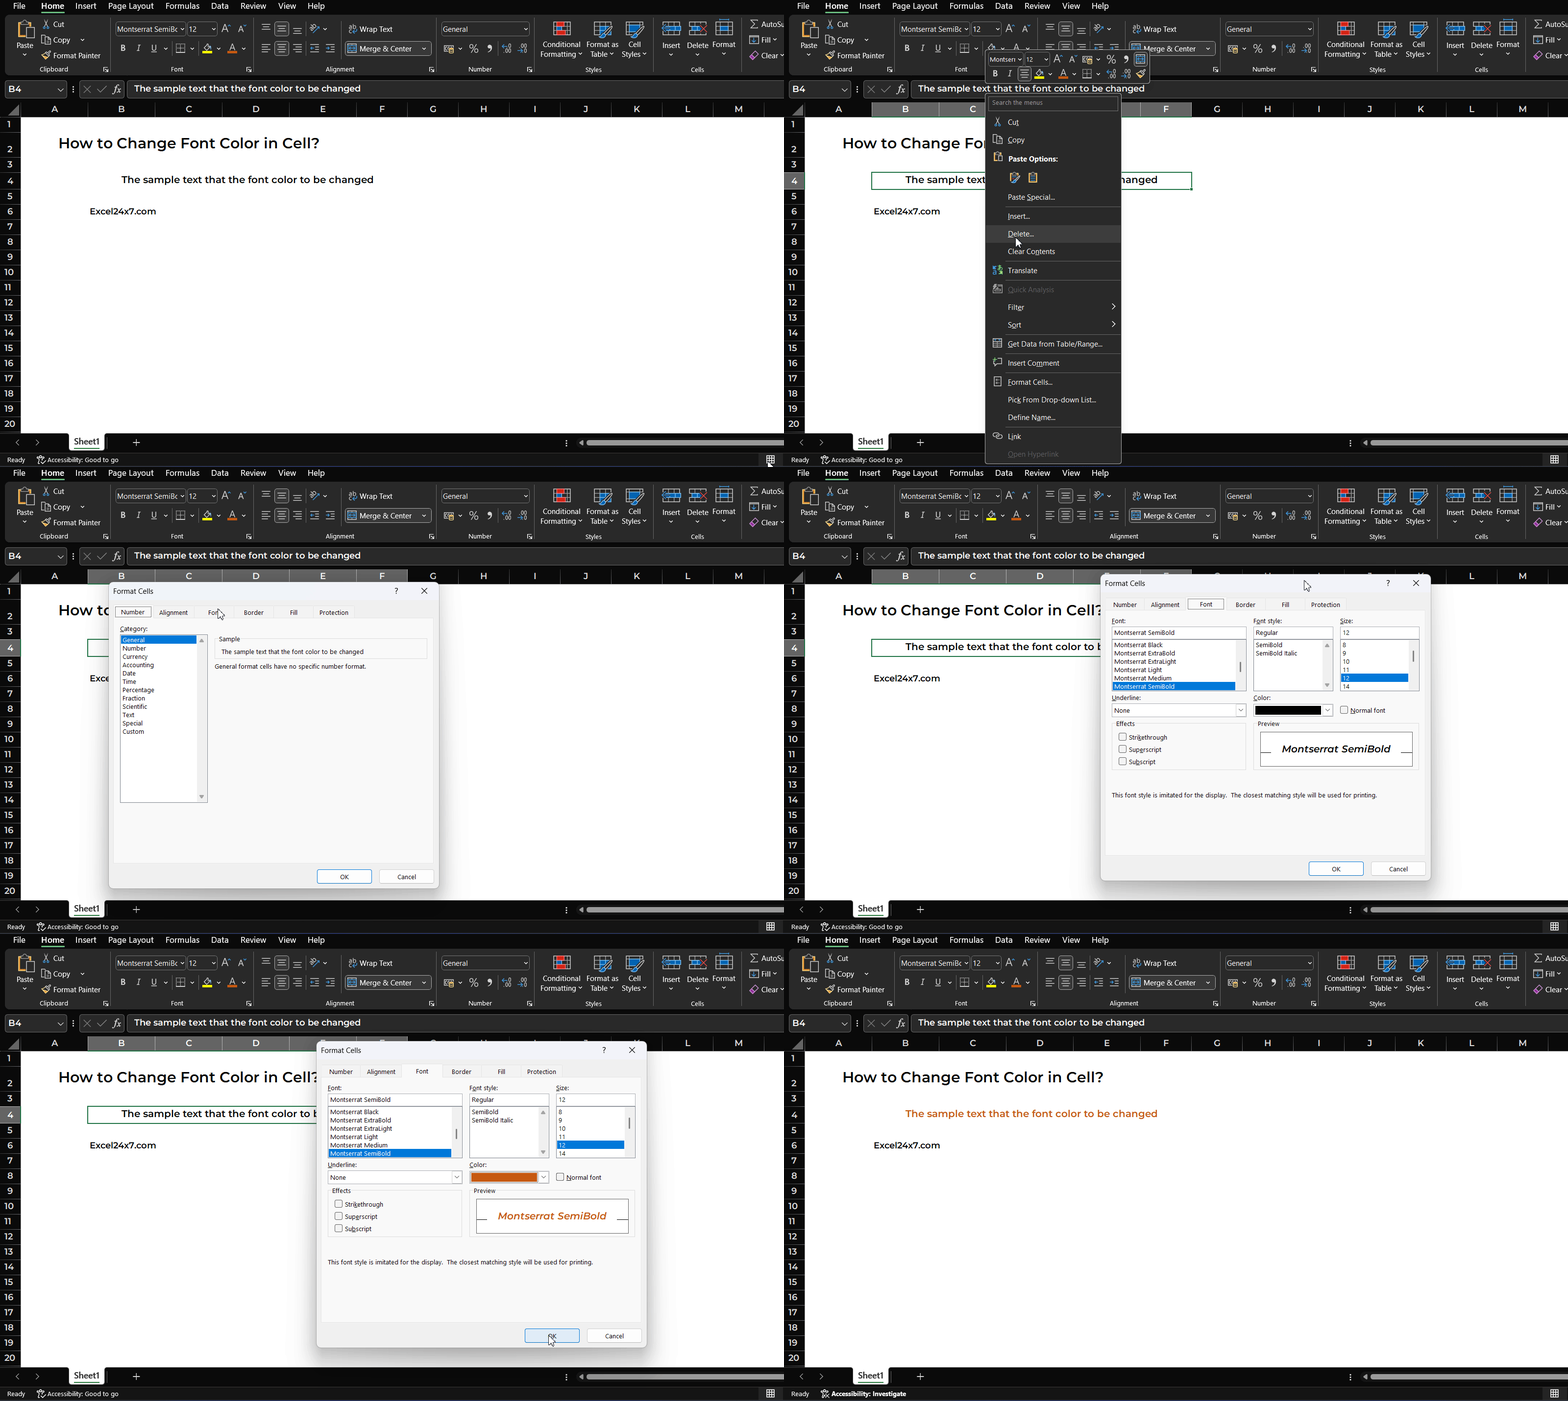
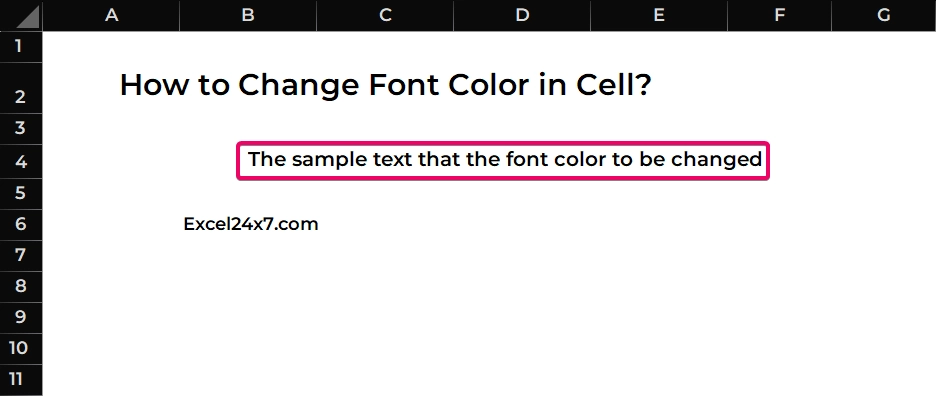
Thats it now that the new font color has been applied to the characters inside the selected cell.
Conclusion:
In this tutorial, I have walked you with the steps on changing Font Color in Excel using the Font Color Dropdown and using the format cell option. Feel free to comment us below, if you have any queries, then feel free to ask in our comment section and find more interesting excel tutorials on our homepage: Excel24x7.com.


