How to Sync Selected Range Across All Worksheets in Excel?
Sync Range of Cell Values using VBA Code & Select All Sheets options
In Excel, you may often work with multiple worksheets or workbooks while managing data. Sometimes, you need to sync data between two or more worksheets. Whether you’re using templates, repeating headers, or shared report values, Excel does not offer a built-in feature to link a selected range across multiple sheets directly.
In this tutorial, I’ve added the two methods including using:
- VBA Code to Sync Worksheets.
- Sync Worksheets values using Select All Sheets option.
Method 1: Sync Worksheet Values using Select All Sheets Option
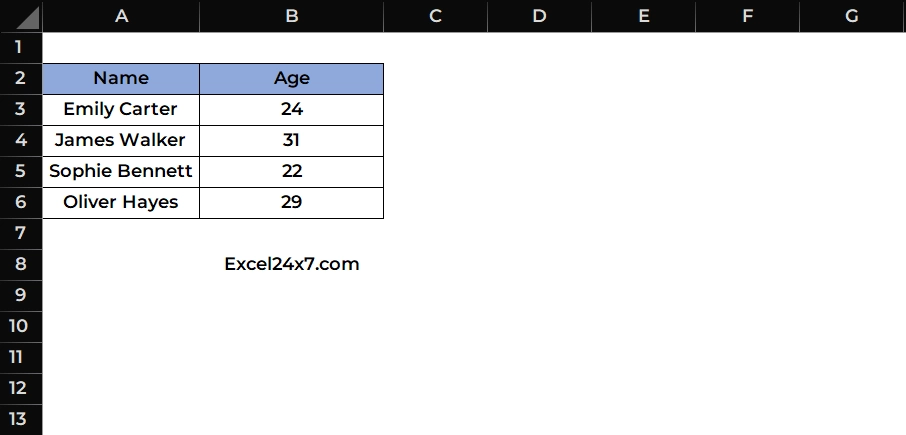
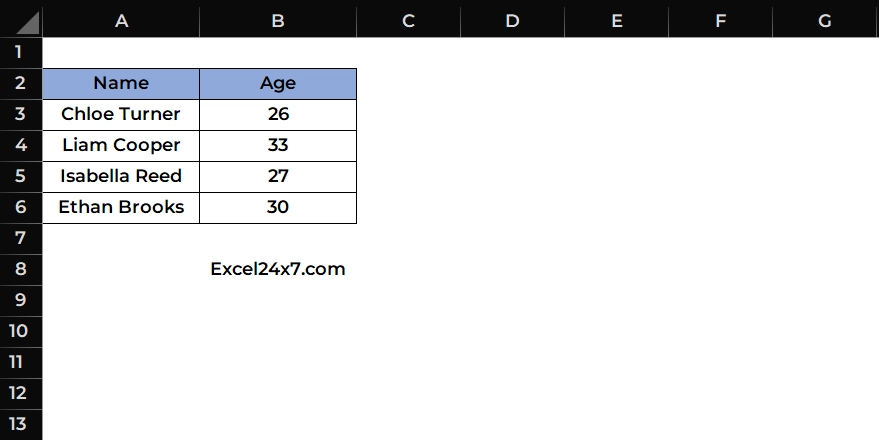
- Firstly, you need to select a range of cell values in the current active worksheet that you want to select in the all worksheets.
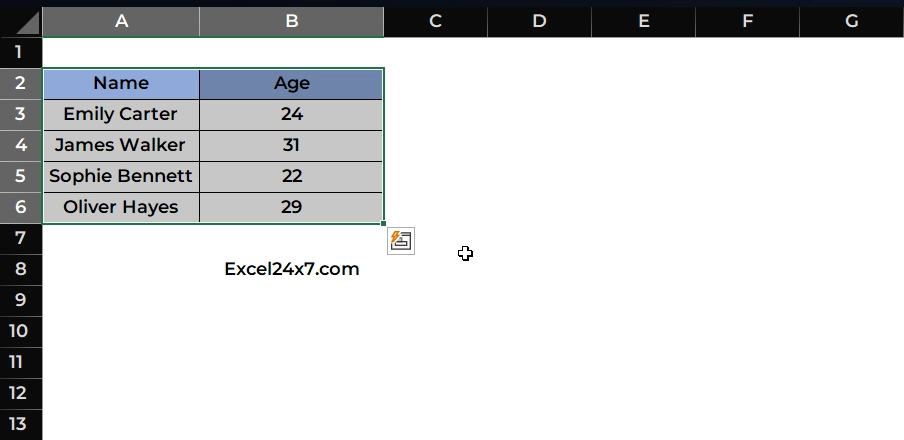
- As shown in the above image, I’ve choose the cell values range between A2:B6
- Then you need to right click on the worksheet tab and choose the Select All Sheets option from the list of menu.
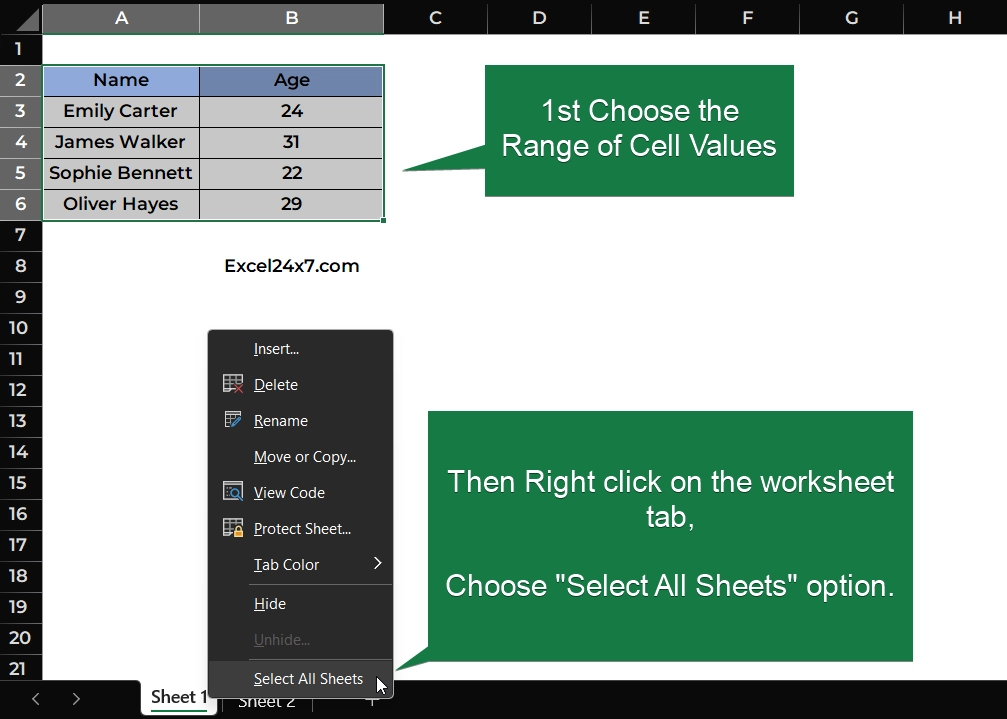
- Now, all the values or the selected cell range have been copied and synced across all worksheets in the workbook.
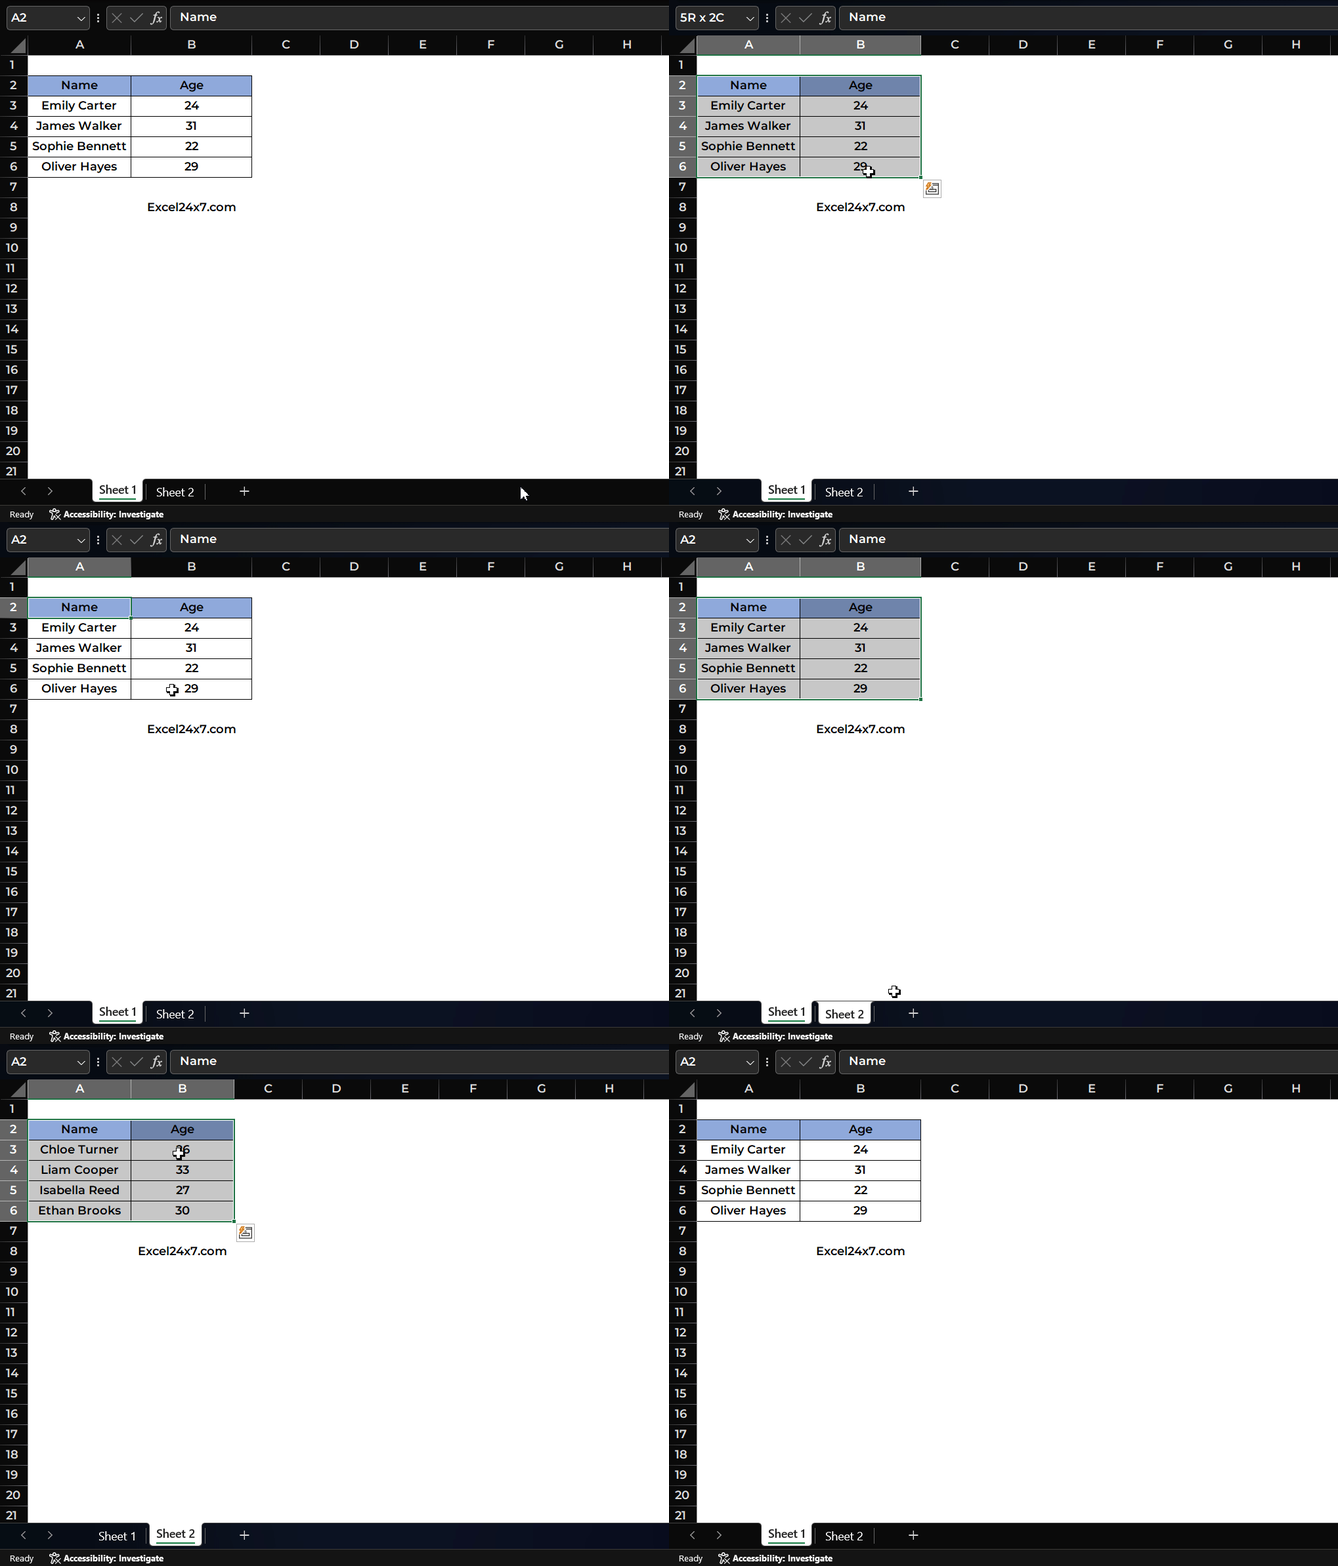
That’s it, this is how you can sync values in a range of cells in the workbook using Select All Sheets option in Excel.
Note: Using the “Select All Sheets” option in Excel lets you apply the same selected range to all worksheets at once. However, this only syncs the selection itself, not the visible position of the selection on the screen. To view the selected range in the same spot on each sheet, you’ll need to manually scroll each worksheet.
Method 2: Sync Worksheet Values using VBA Code:
This is the alternative method to do. You might need to use the VBA code to sync the worksheet values. Using VBA code in Excel, you can easily make all worksheets select the same range and also ensure that the selected range is visible in the same position of the window across all sheets. You can use the keyboard shortcut ALT + F11 to launch the VBA Editor in Excel.
- Firstly, you need to select the range of cell values (IMPORTANT) as shown in the image.

- Then, you need to use the the keyboard shortcut ALT + F11 to launch the VBA Code editor.
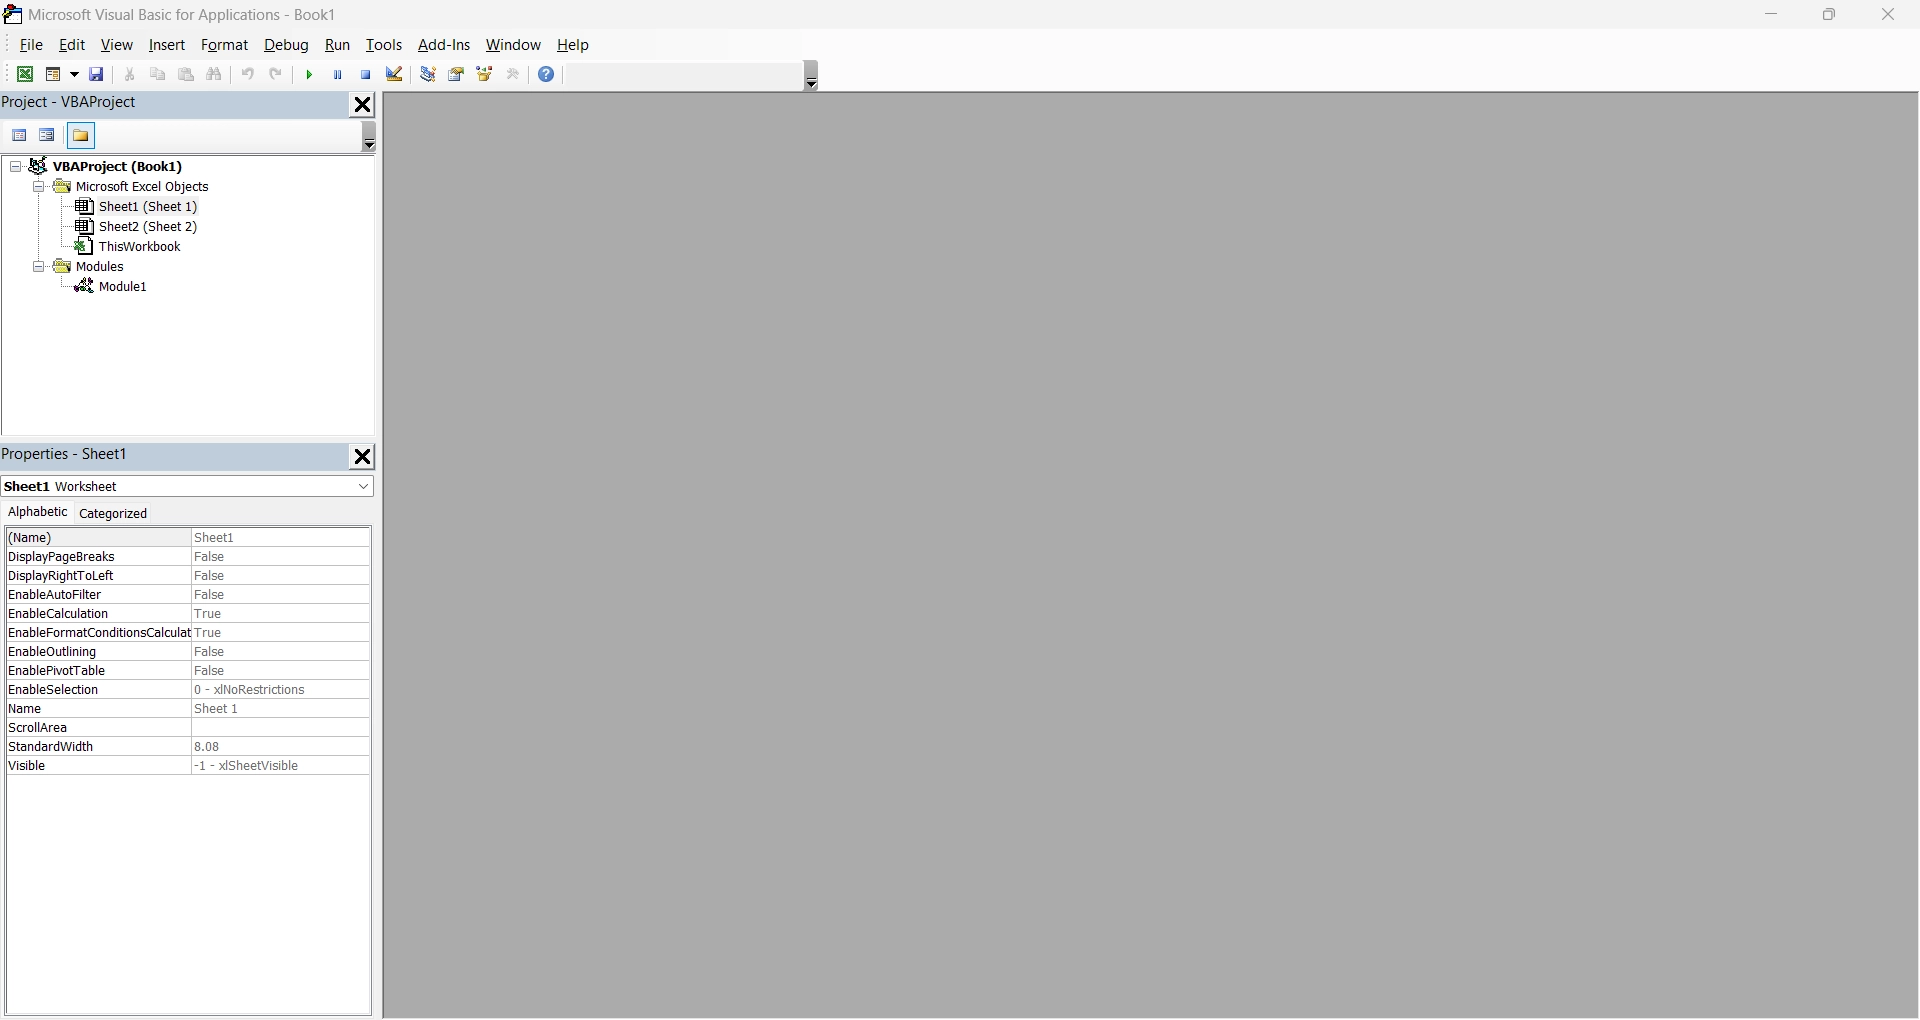
- Now, in the Insert option located in the top of the Menu bar, you need to choose the Module option.
- A editor window will appear on your screen, in that you need to paste the below code.
Sub SynchSheets()
'Update 20130912
Dim WorkShts As Worksheet
Dim sht As Worksheet
Dim Top As Long
Dim Left As Long
Dim RngAddress As String
Application.ScreenUpdating = False
Set WorkShts = Application.ActiveSheet
Top = Application.ActiveWindow.ScrollRow
Left = Application.ActiveWindow.ScrollColumn
RngAddress = Application.ActiveWindow.RangeSelection.Address
For Each sht In Application.Worksheets
    If sht.Visible Then
        sht.Activate
        sht.Range(RngAddress).Select
        ActiveWindow.ScrollRow = Top
        ActiveWindow.ScrollColumn = Left
    End If
Next sht
WorkShts.Activate
Application.ScreenUpdating = True
End Sub- Now, in the Menu bar, you may see the option “Run“, click on it and choose the Run Sub/Userform F5 option to execute the VBA code. Alternatively, you can use the keyboard shortcut F5 to run the command.
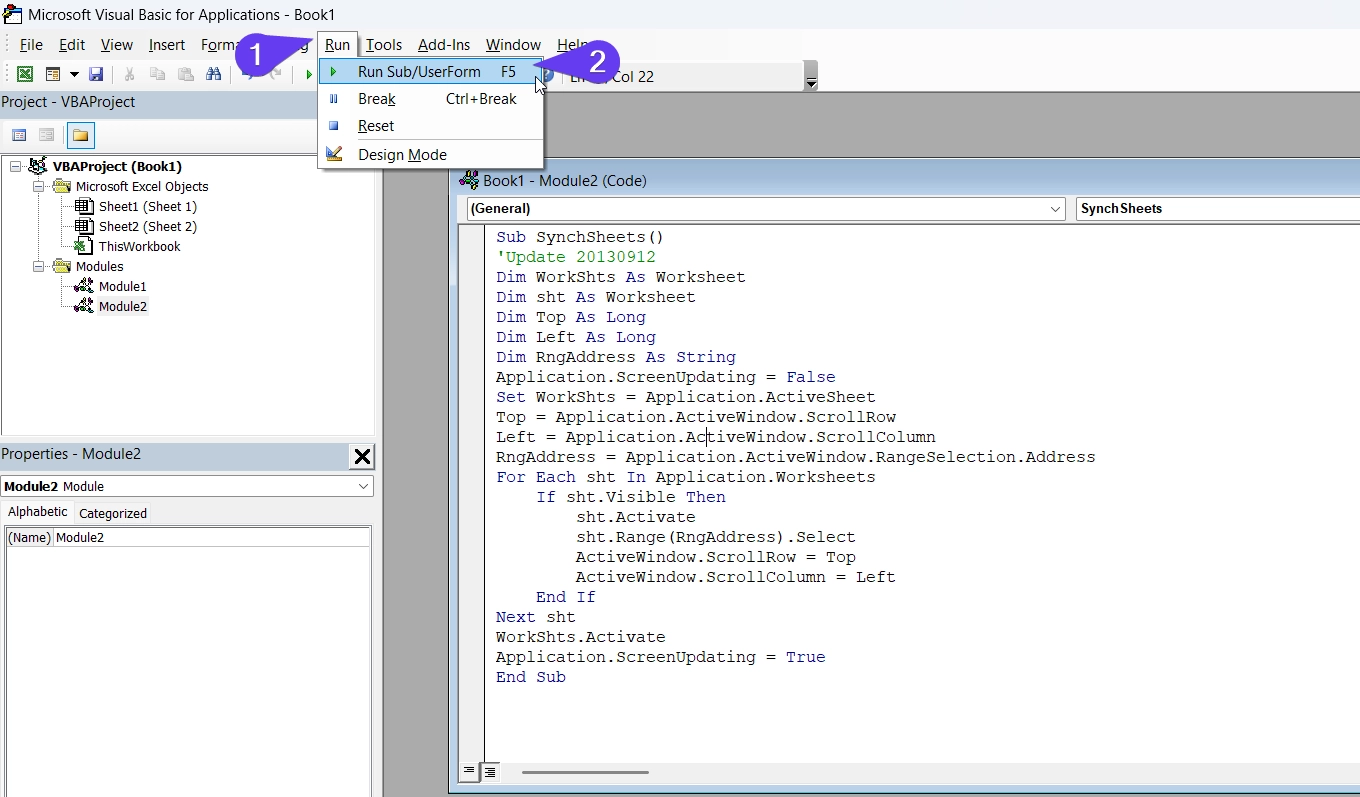
- Get back to the worksheet, there you can see that the selected range of cells has been synchronized with all the worksheets in the workbook.
That’s it.
Feel free to comment us below, if you have any queries about the above topic and find more interesting excel tutorials on our homepage: Excel24x7.com.


